CHAIR HOW-TO: Manage User Type
OVERVIEW
User Type is typically used for assigning different number of papers based on a particular group of users. You can use User Type if you need grouping within a role. For example, Reviewers who are graduate students, Reviewers who are professors, etc., can be grouped into a User Type.
CREATE USER TYPE
- Go to Settings>General>User Type and select '+ Add new user type'

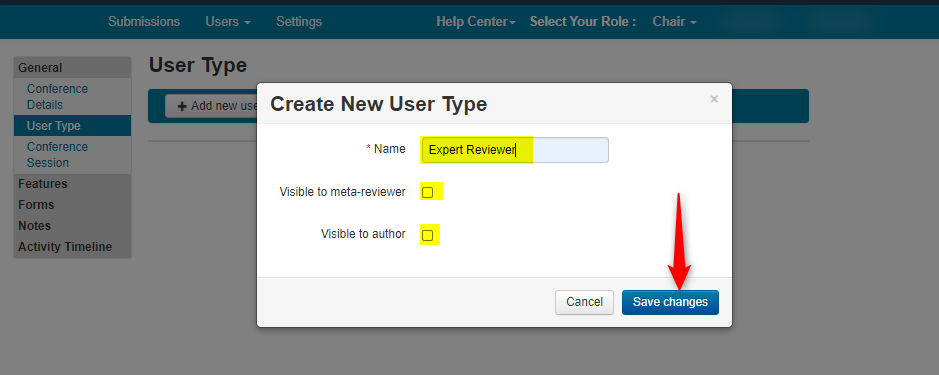
- In the Create New User Type dialog box, enter the User Type (in this case we chose Expert Reviewer), check whether or not this should be visible to Meta-Reviewers and/or Authors, and click ‘Save changes.’
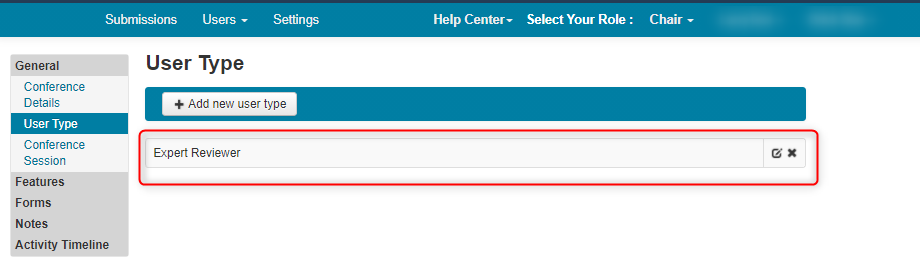
- Verify the User Type was added.
INDIVIDUALLY ASSIGN USER TYPES
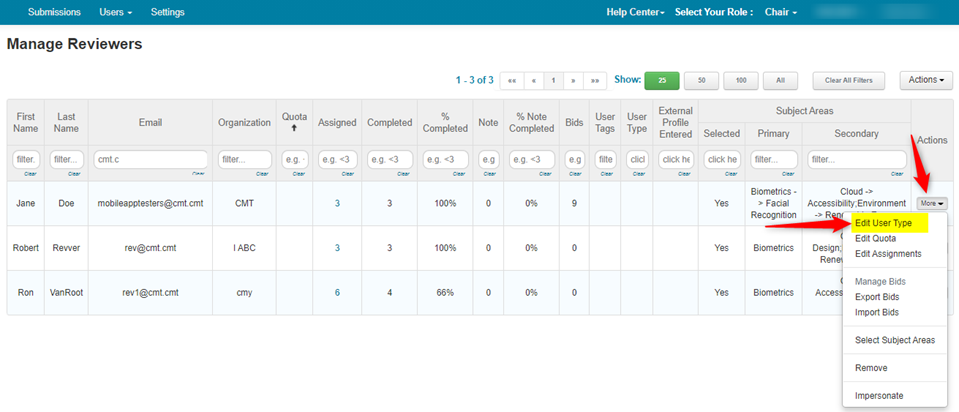
- Go to the Manage Reviewers page, select ‘More’ at the end of the row of the Reviewer that needs the User Type, then ‘Edit User Type.’
- In the ensuing page, select the User Type from the dropdown and click ‘Save.’

- Go back to the Manage Reviewers page and verify the User Type has been added.
IMPORT USER TYPES
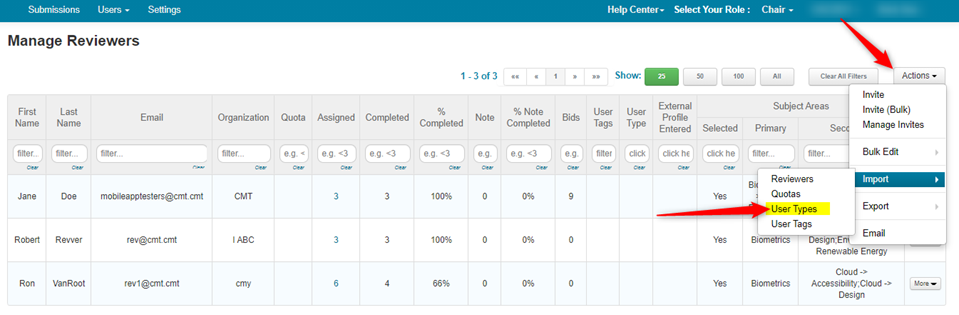
- Go to the Manage Reviewers page, select ‘Actions>Import>User Types
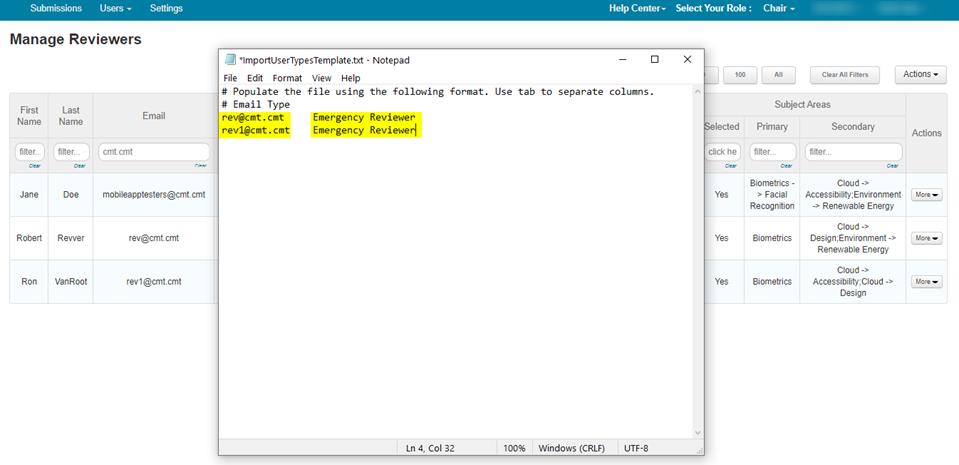
- Open the template and enter [the email of the reviewer]>[tab]>[User Type].
Then save with the same name – do not rename the file.
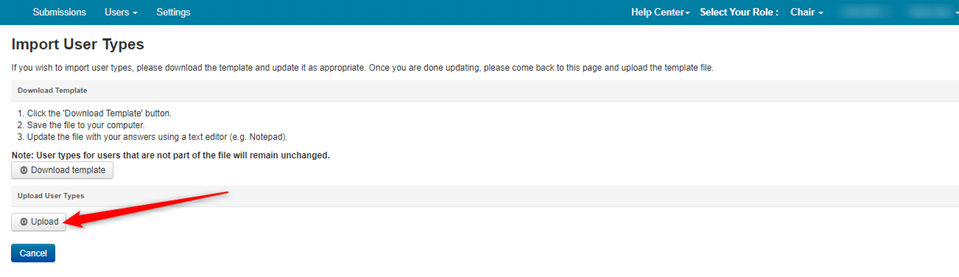
- Click ‘Upload’ in the Import User Types page.
- Find the file, click open and verify the data. If the data has a green “OK” in the first column, then your upload was successful. Click ‘Save Changes.’
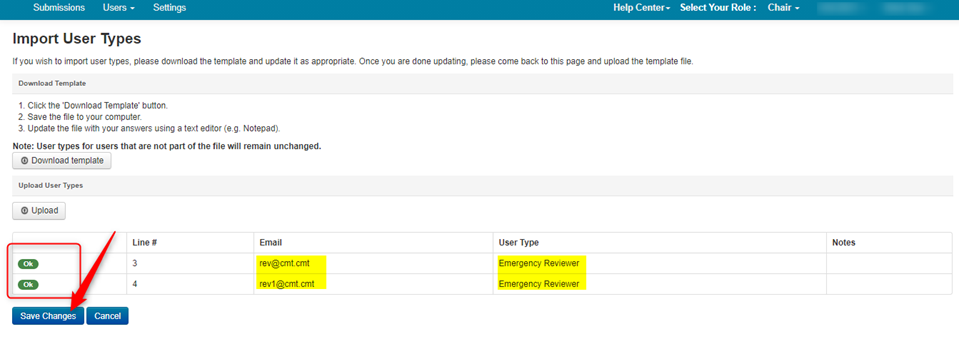
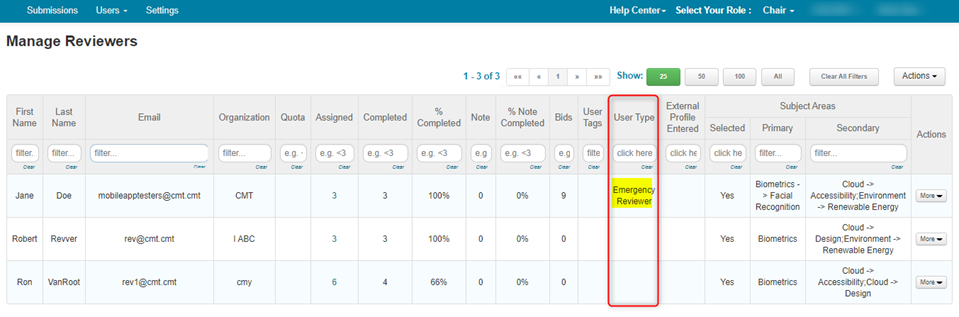
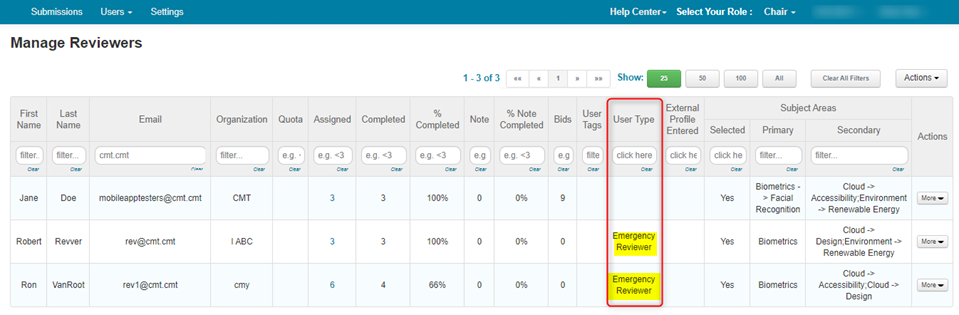
- Verify the User Types are correct in the Manage Reviewers page.
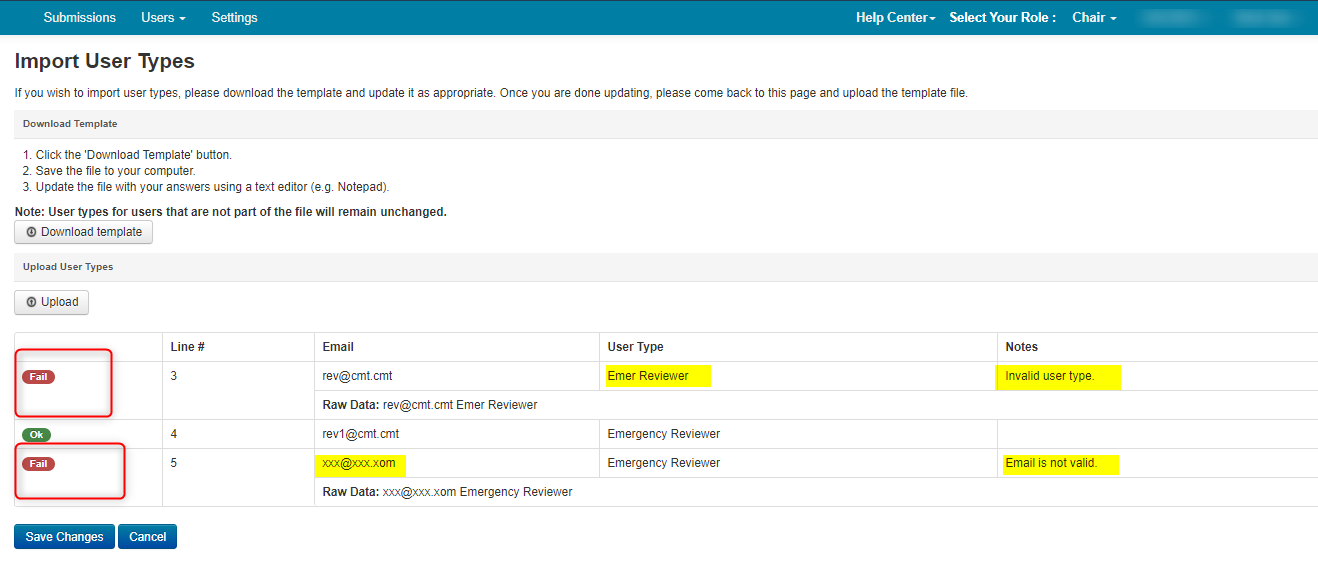
- If the file information is incorrectly entered as shown below with a wrong email and a non-existent User Type, you will get errors after the upload.

- The Notes column will show what those errors are. Go back and correct the file, then upload again.
BULK EDIT USER TYPES
- Go to the Manage Reviewers page, select ‘Actions>Bulk Edit>User Type.’
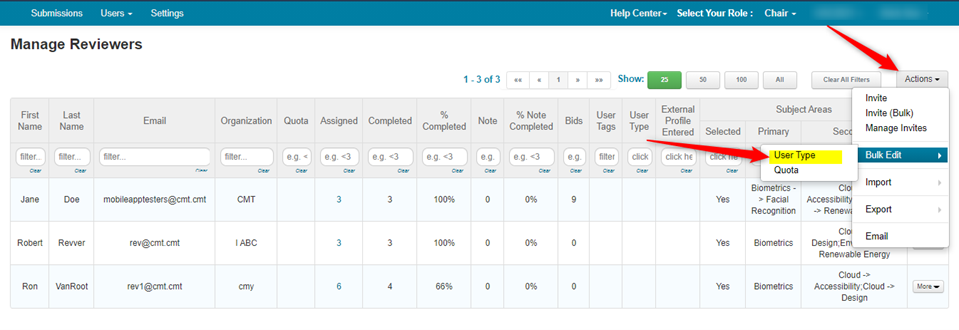
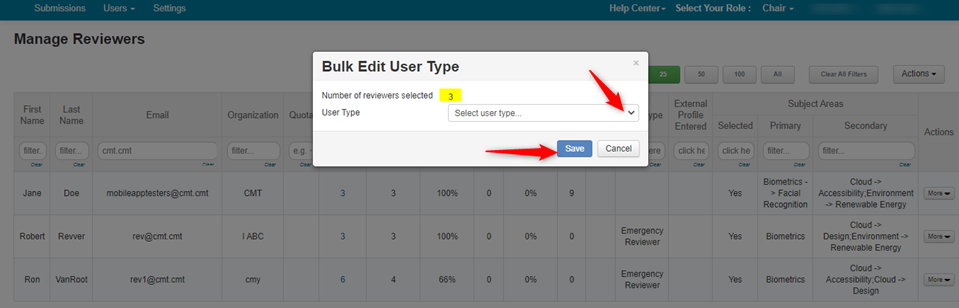
- We will make all three Reviewers, ‘Emergency Reviewers.’ In the ensuing dialog box, select the User Type from the dropdown, then click ‘Save.’
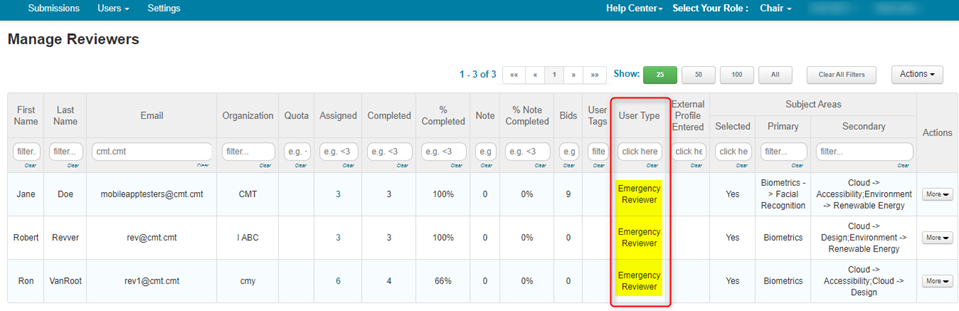
- Verify the User Types are correct in the Manage Reviewers page.
USERS EDIT THEIR OWN USER TYPE
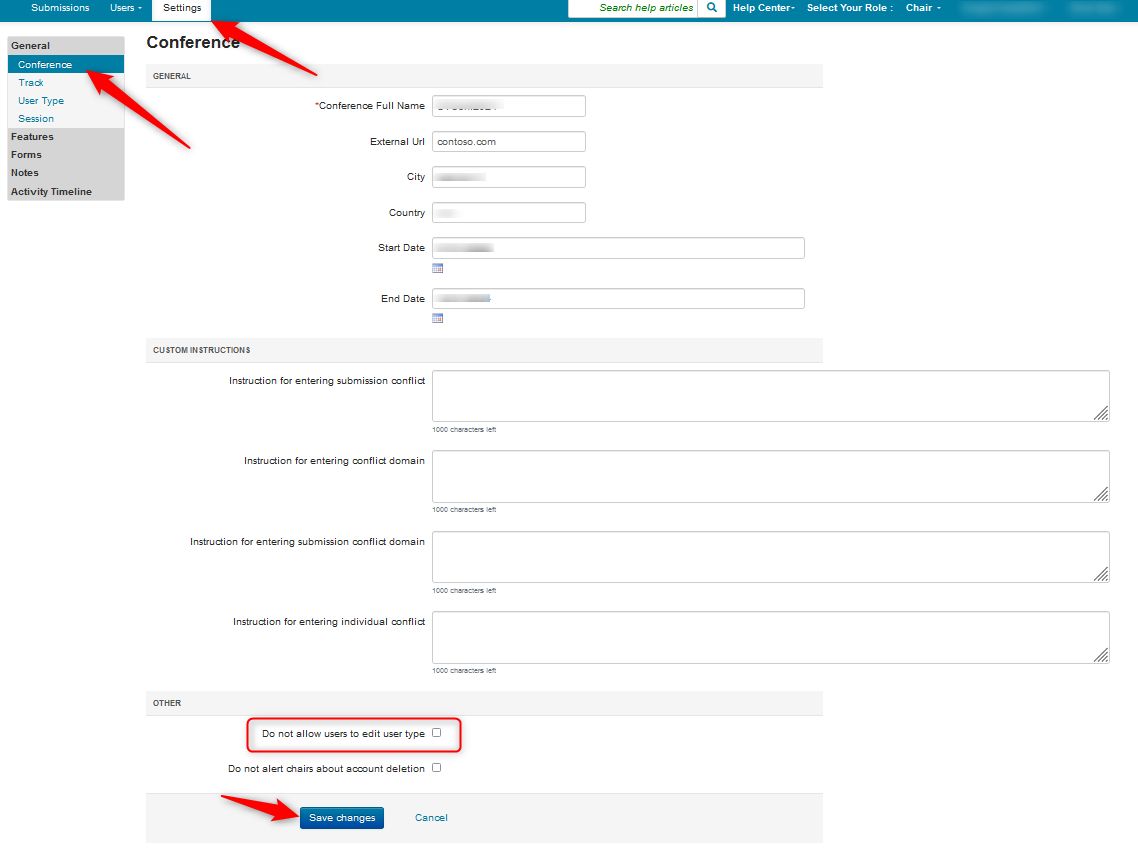
By default, Users can edit their own User Type. If this is to be disallowed, check the 'Do not allow users to edit user type' box in General>Conference settings
HOW USERS EDIT USER TYPE
- For example, a Reviewer logs into the conference. There wil be a red bar at the top of the 'Reviewer Console' asking to select User Type. Reviewer clicks link.

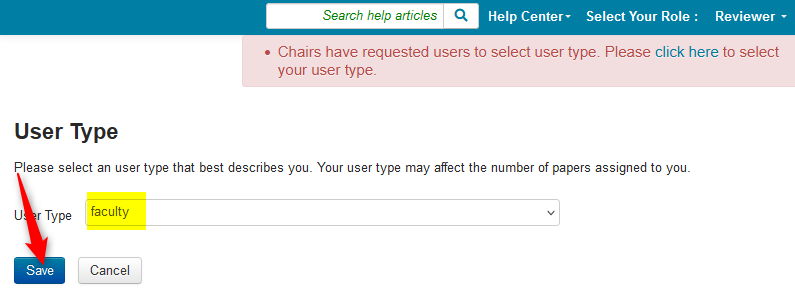
- The User Type page opens with the predetermined selections created by the Chairs.
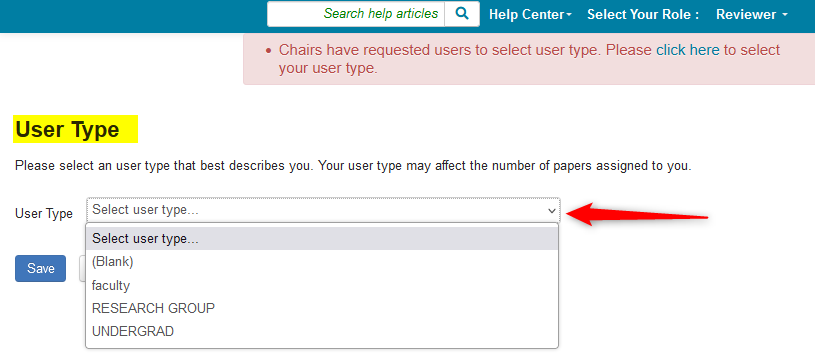
- Reviewer selects 'faculty' and saves the choice
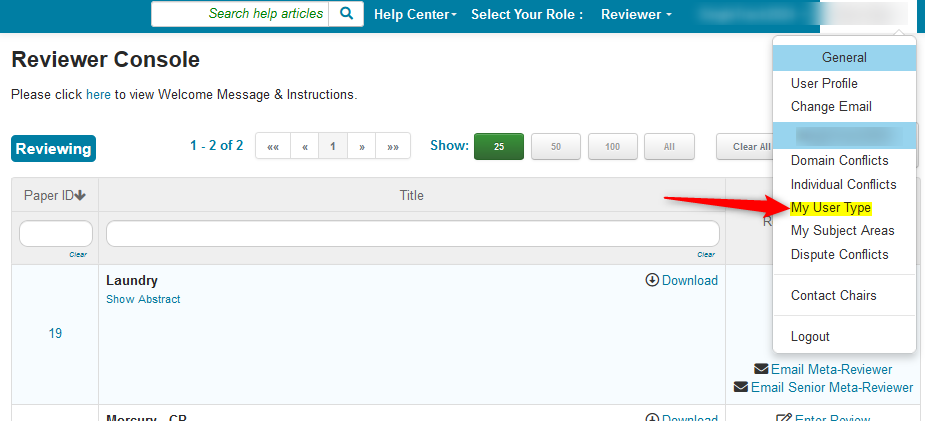
- The Reviewer can modify the selection at any time by clciking the name dropdown and selecting 'My User Type'
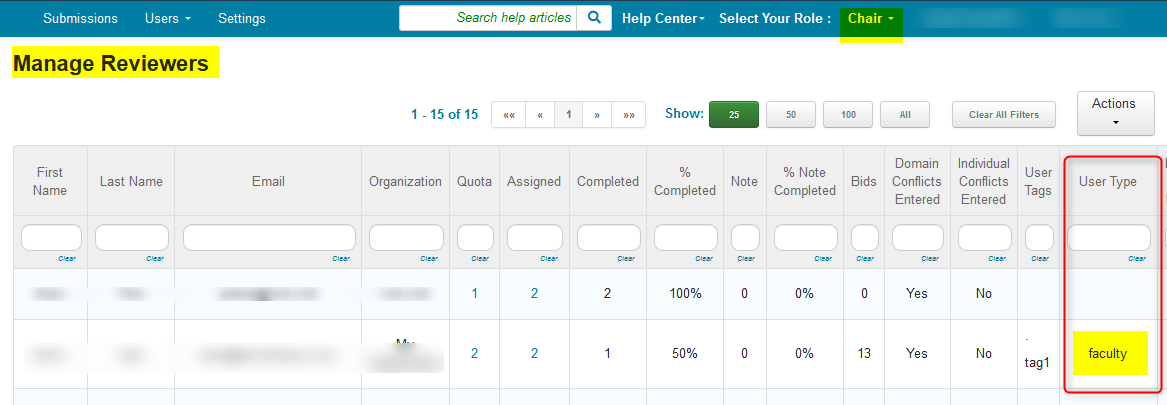
- The Chair can verify the selection in the 'Manage Reviewers' page.
EXPORT USER TYPES (Single Track Conference)
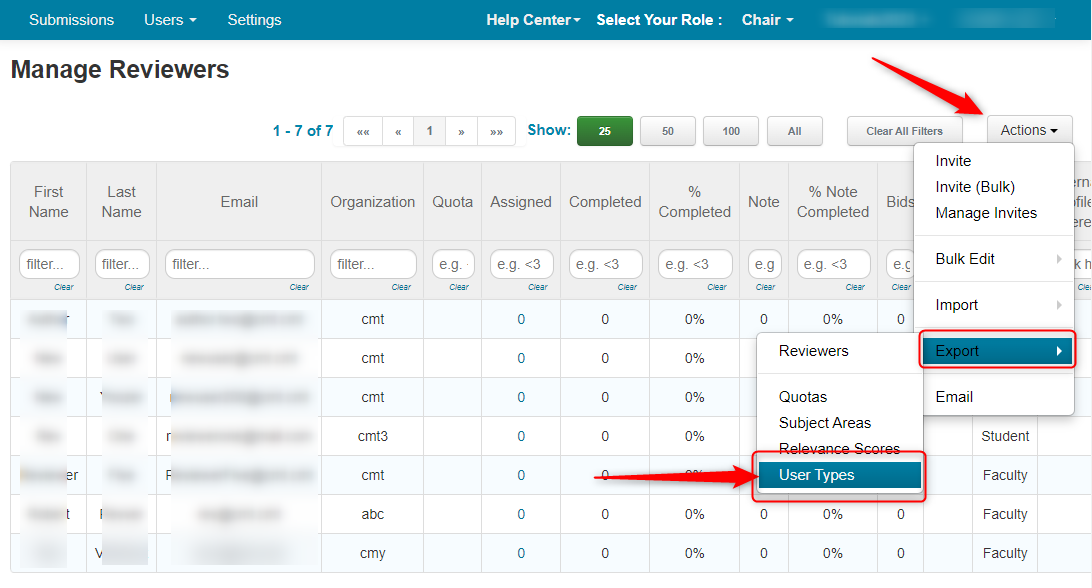
- Go to Manage Reviewers page, select ‘Actions>Export>User Type.’
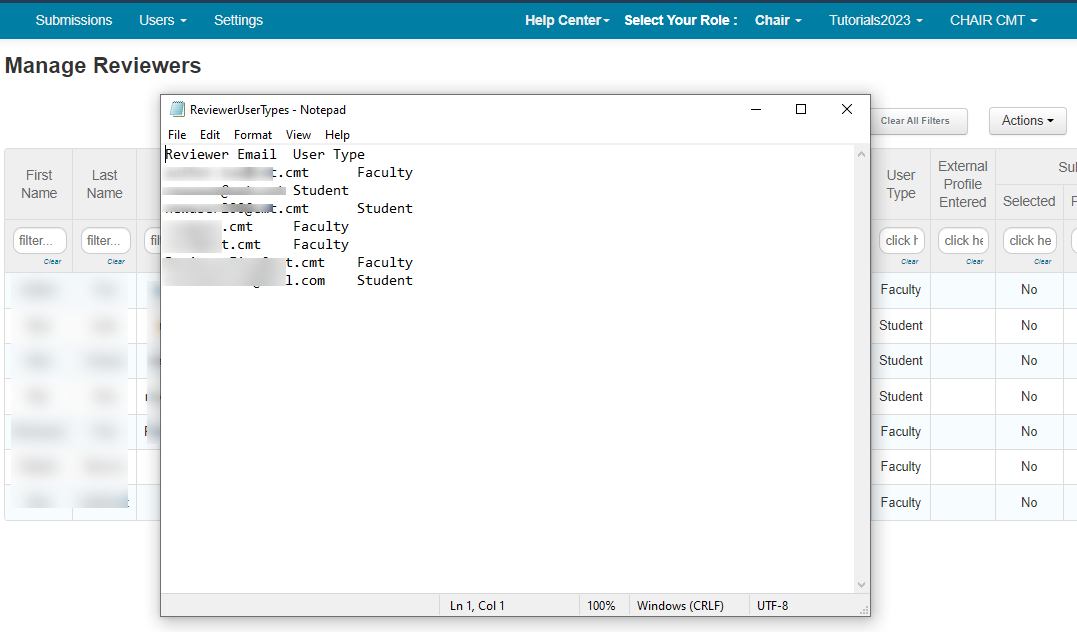
- Open the text file to view the Reviewer emails and User Types.
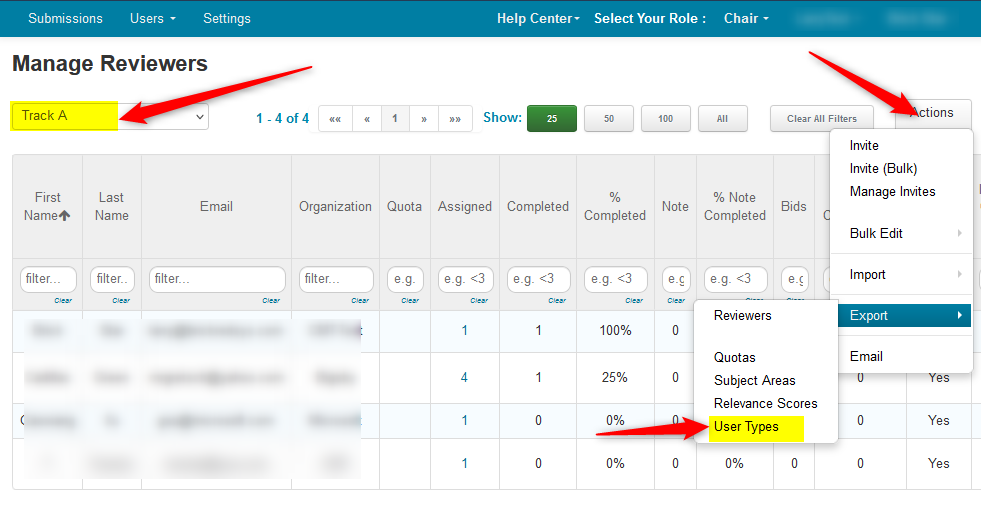
EXPORT USER TYPES (Multi-Track Conference)
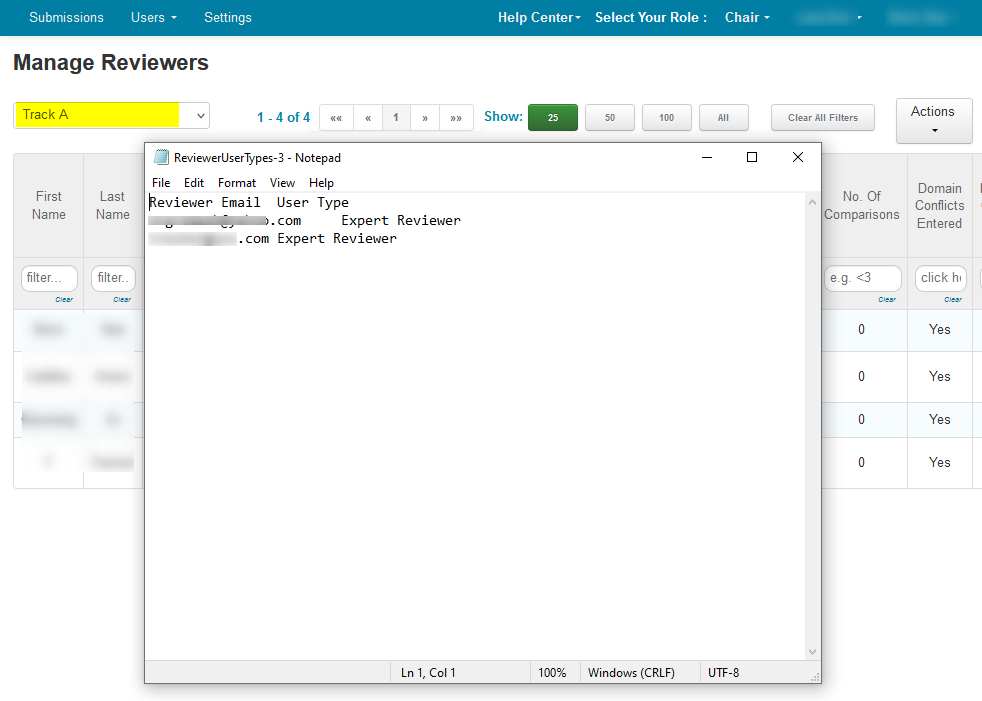
Go to Manage Reviewers page, select the desired track. In the example, Track A is selected.
Click ‘Actions>Export>User Type.’
- Open the text file to view the Reviewer emails and User Types.