CHAIR HOW-TO: Camera-Ready
OVERVIEW
After the paper decision-making phase, Chairs enable the papers for camera-ready submissions.
Chairs also may post questions and set other requirements for the Proceeding Editor or Authors.
Once that is done, the Proceeding Editor will take over the responsibilities of the camera-ready phase of the conference.
Important
If the conference is to use the IEEE eCF Copyright transfer, it must be registered with IEEE beforehand.
CHAIR CONSOLE
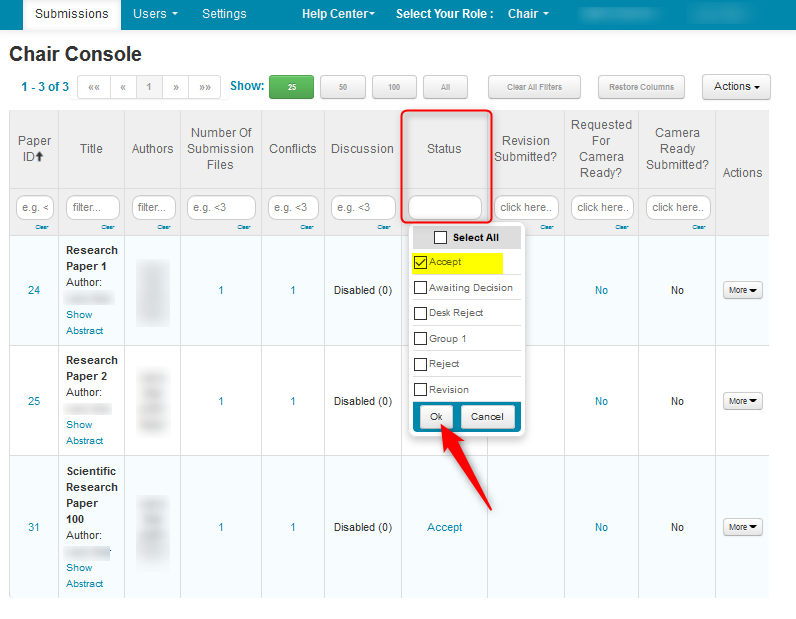
Filter Paper Status
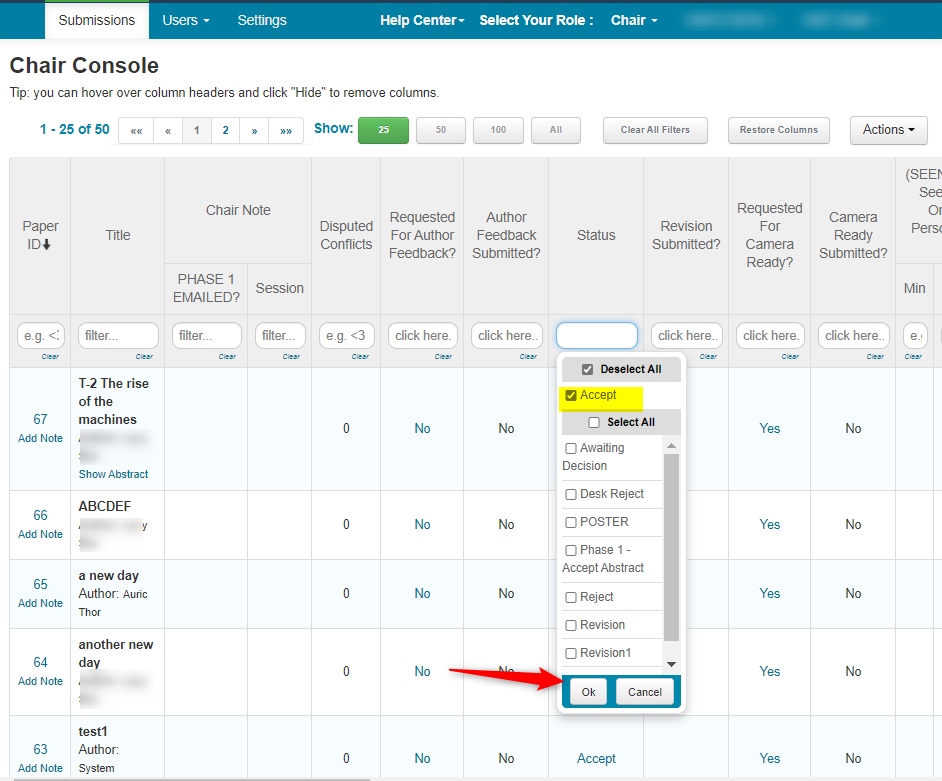
- From the ‘Chair Console,’ filter the Status column for ‘Accept.’ Click ‘Ok.’
Enable Camera-Ready Request (Bulk)
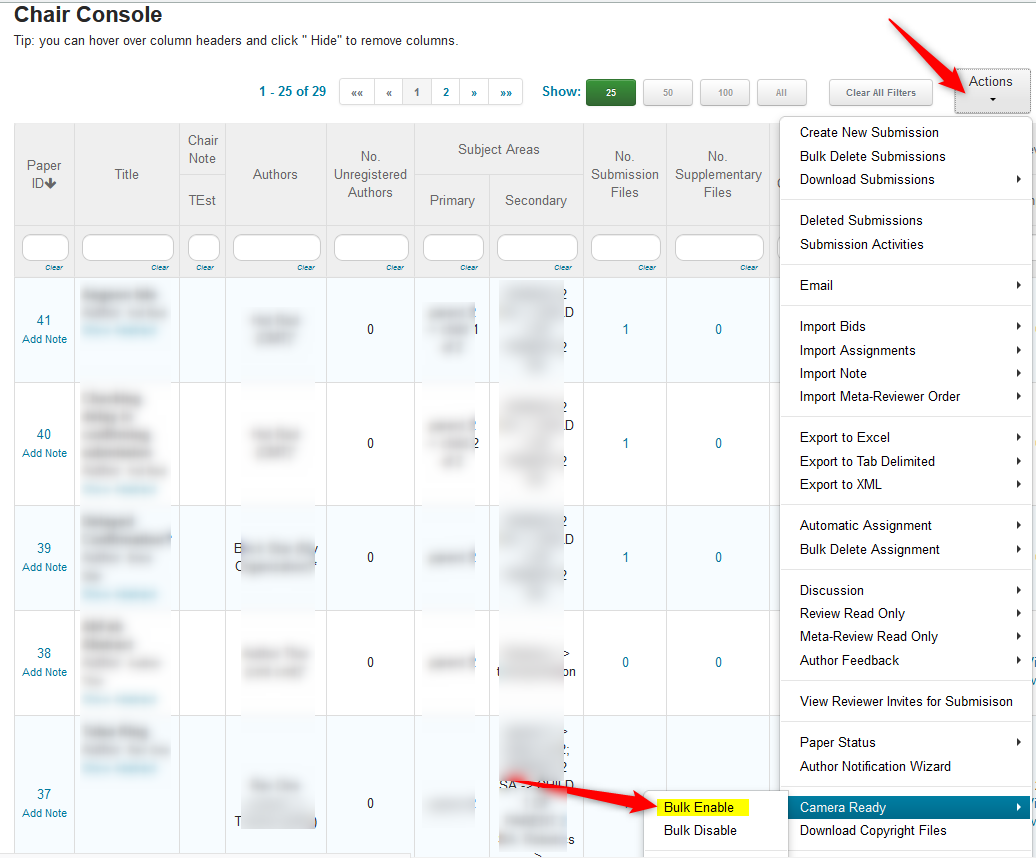
The Camera-Ready Request can be enabled in bulk or the papers can be enabled individually
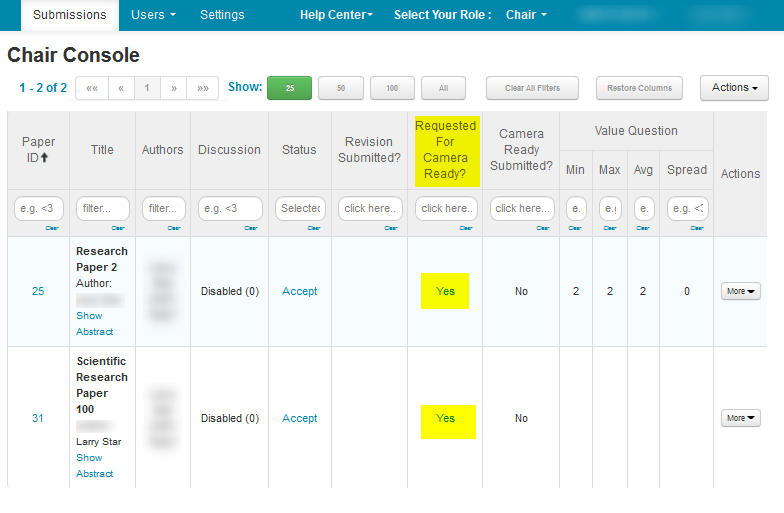
- To enable them in bulk, click ‘Actions,’ select Camera-ready>Bulk Enable.
- Click ‘OK’ on the ensuing pop-up.
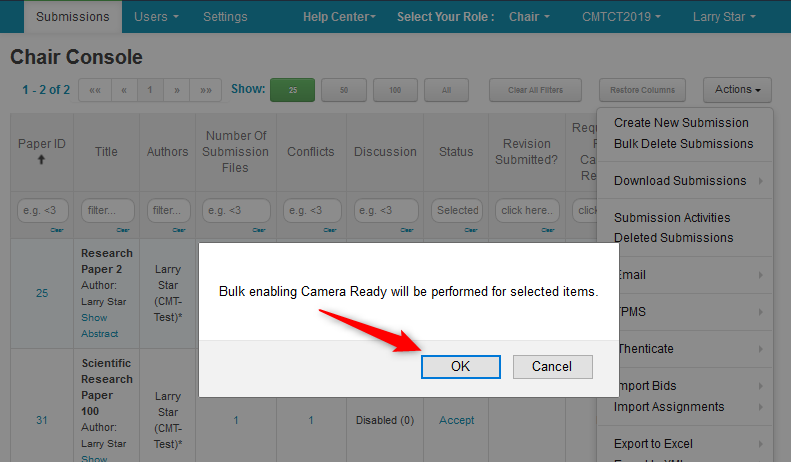
The ‘Requested for Camera Ready?’ column shows ‘Yes.’
Enable Camera-Ready Request (Individually)
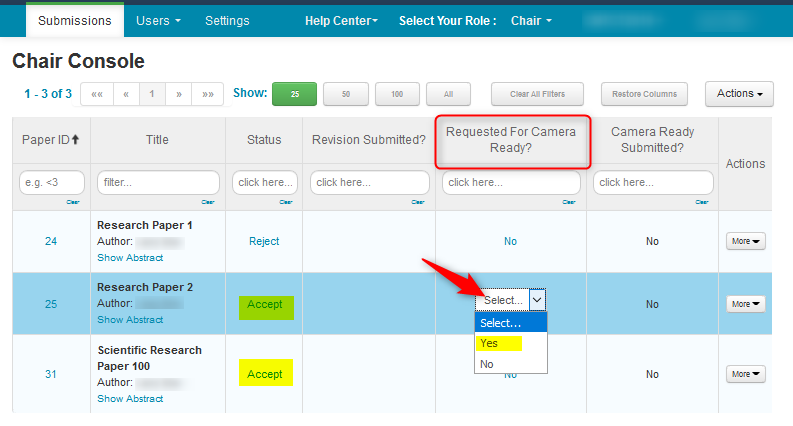
- Click on the ‘No’ link in the Requested for Camera Ready?’ column for the paper you want to enable. A dropdown will automatically appear. Select ‘Yes.’
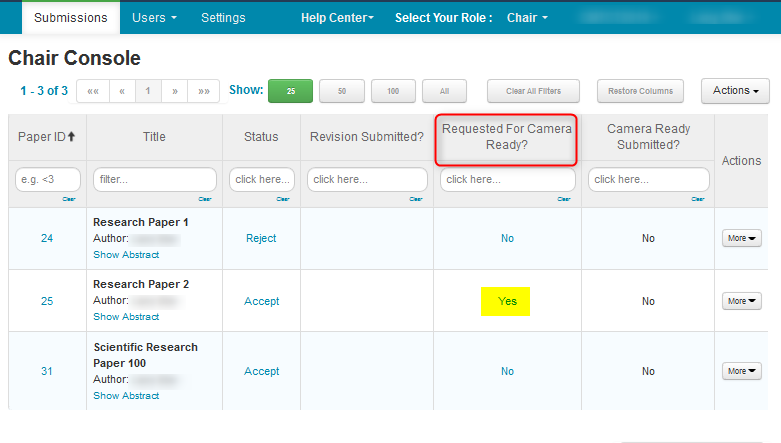
The ‘Requested for Camera Ready?’ column shows ‘Yes’ for that paper.
SETTINGS TAB
Important
For a multi-track conference you will need to do this for each track you want camera-ready enabled.
FEATURES: Camera-Ready Settings
Note
Chairs will set the formatting, requirements, and numbers of files for Authors to upload their camera-ready files.
Welcome and Instructions
- From the Settings tab, click 'Features.' In the 'Welcome Messages and Instructions' field, enter the information the Authors need to know about the camera-ready-submission.

Camera Ready Submission File
Note
Once a file is uploaded it will not be able to be deleted if it is the only file and the minimum number of files is set to 1.
If 3 files were uploaded, 2 files may be deleted, but 1 will have to remain.
This can be replaced with a placeholder file, such as an empty document
Important
If there is a camera-ready file and somehow the setting was changed to zero files for both, then there will be an error like the one below when trying to access the camera-ready file.

Just go to camera-ready settings and increase the minimum and maximum number of files to a suggested minimum of 1 and maximum of 2.
Minimum and Maximum Number of Files
- Under ‘Camera Ready Submission File,’ set the maximum and minimum number of files, the formats accepted, and the maximum file size.

IEEE Copyright Requirement
- Under ‘IEEE Copyright Requirement’, enable the checkbox, enter the ‘Publication Title’ and ‘5-digit conference ID.’

OTHER
Reproducibility Checklist
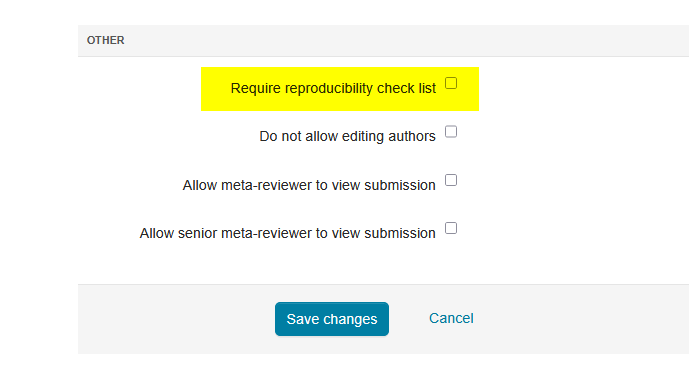
- If desired, enable 'Require reproducibility check list'
Do Not Allow Editing Authors
- 'Do not allow editing authors' This stops authors from adding/removing co-authors
(When this is enabled, the 'Allow changing author order' setting becomes visible)
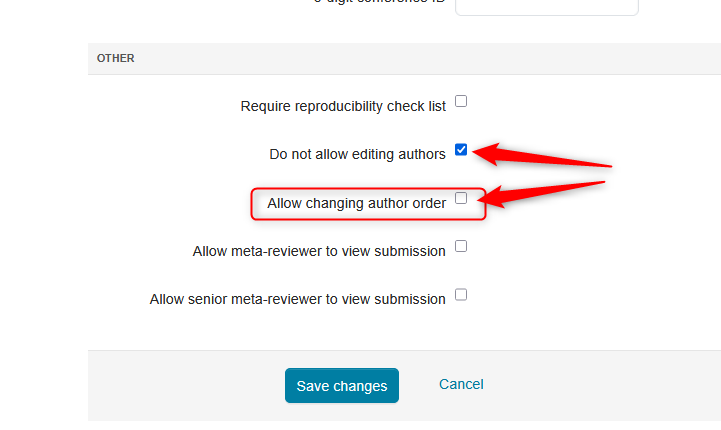
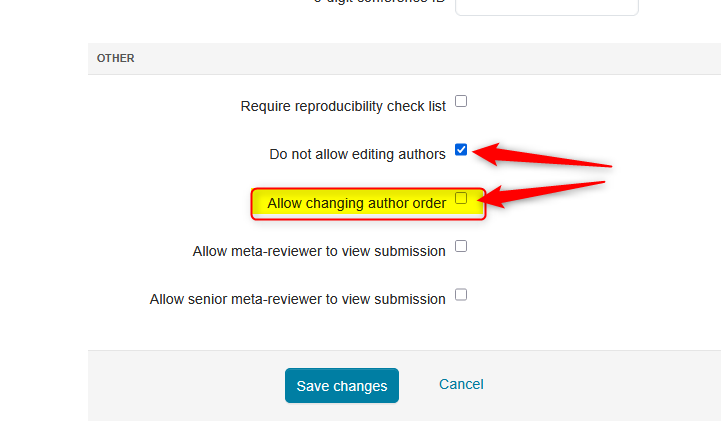
Allow Changing Author Order
- Enabling this after disallowing the editing of authors, will allow the author order to change; they cannot remove or add any co-authors.
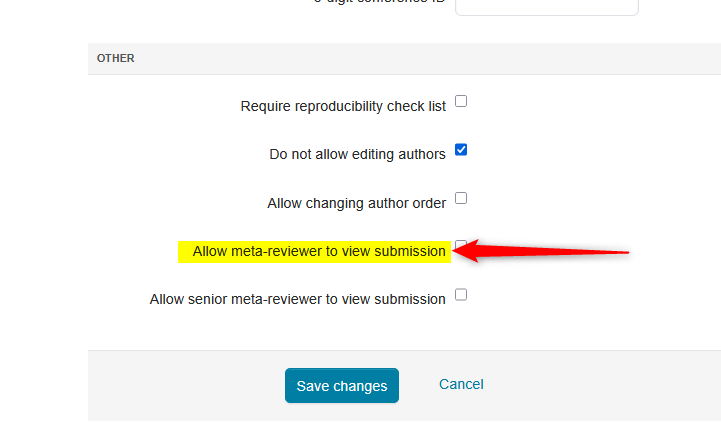
Allow Meta-Reviewer to View Submission
Note
There is no more reviewing of the paper. That was done in earlier phases, e.g. revision and author feedback.
- Enabing 'Allow meta-reviewer to view submission' will make the submission visible to the Meta-Reviewer(s), to make sure nothing was changed from the accepted paper.
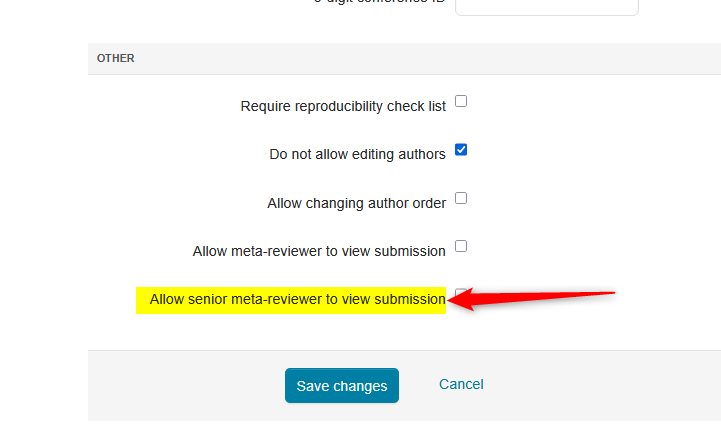
Allow Senior Meta-Reviewer to View Submission
Note
There is no more reviewing of the paper. That was done in earlier phases, e.g. revision and author feedback.
- Enabing 'Allow senior meta-reviewer to view submission' will make the submission visible to the Senior Meta-Reviewer(s), to make sure nothing was changed from the accepted paper. Save the changes.
EDIT CAMERA-READY SUBMISSION
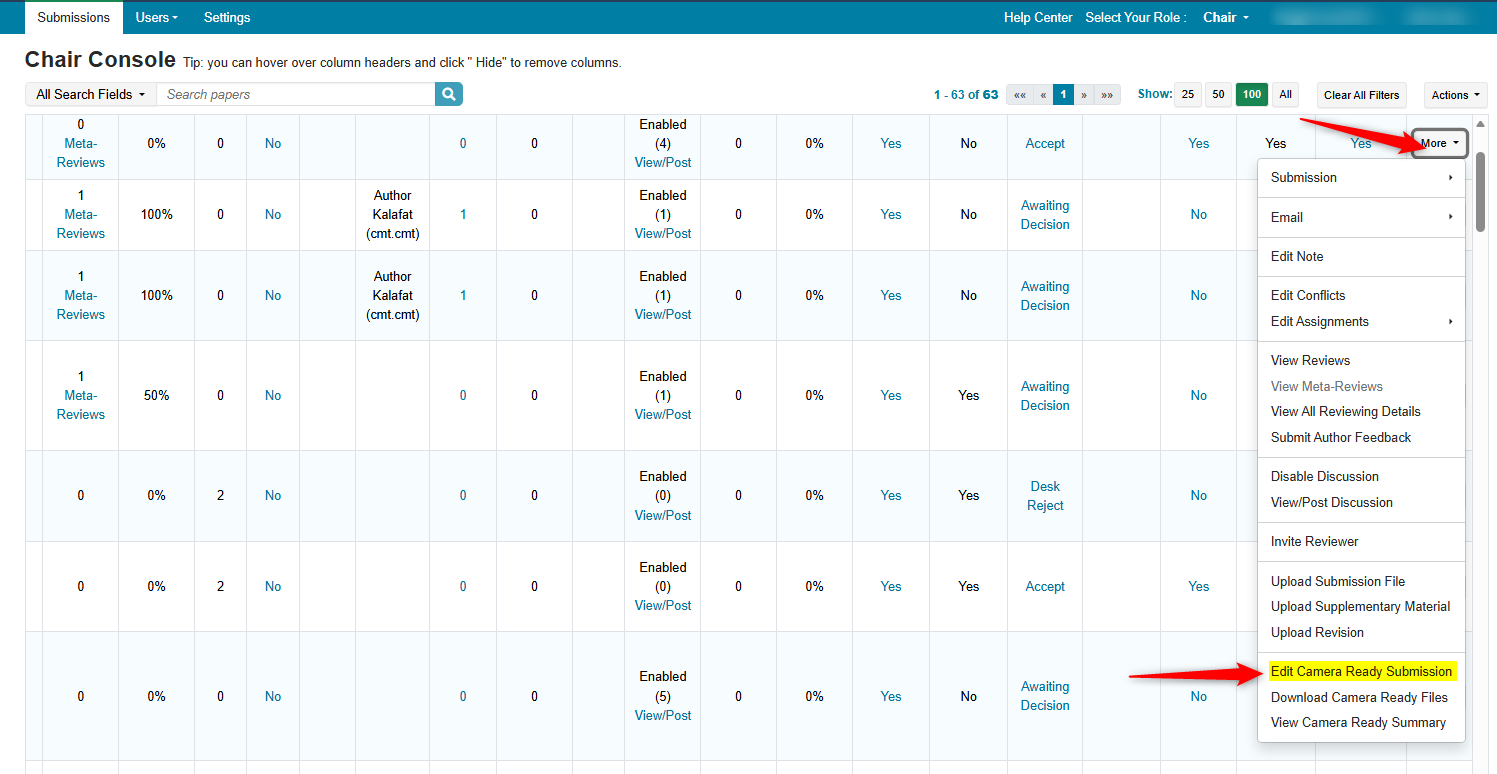
- Chairs can edit Camera-Ready submissions by going to the end of the desired paper's row in the Chair Console and selecting More->Edit Camera-Ready Submission
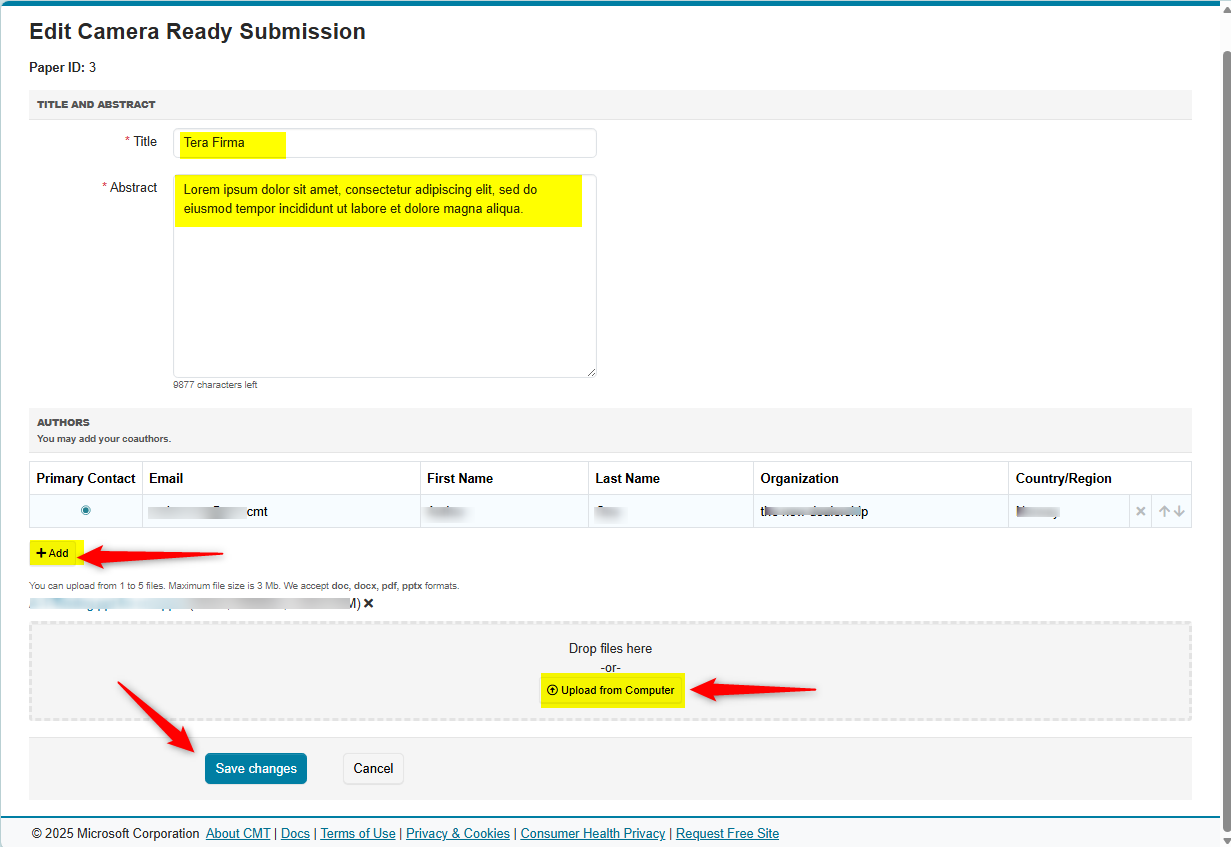
- This page allows chairs to add/modify co-authors, files, titles, and abstracts.
FORMS: Camera Ready Submission Questions
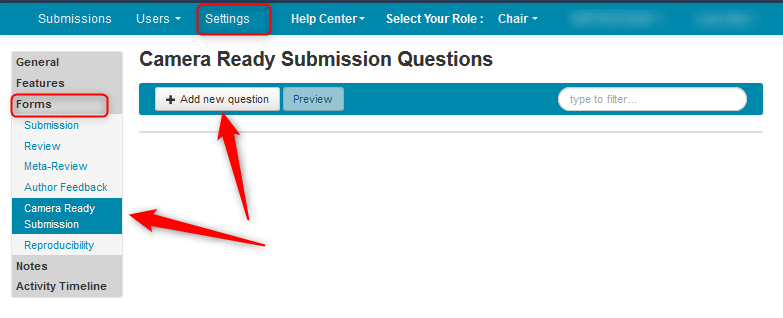
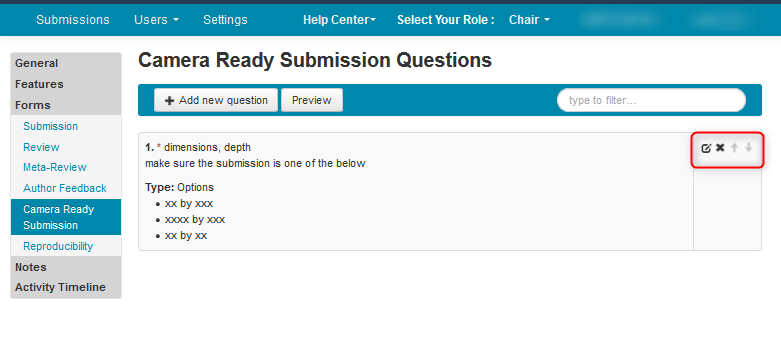
- Go to the Settings tab, then click ‘Forms>Camera Ready Submission.’ Click the ‘+Add new question’ button.
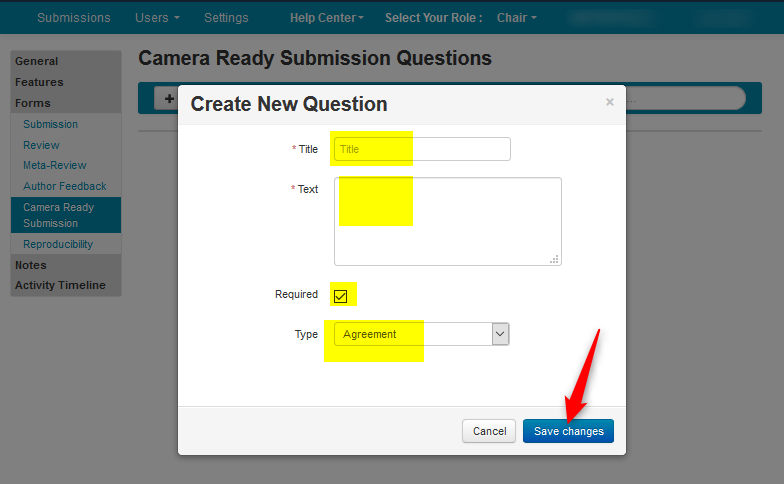
- In the ‘Create New Question’ pop-up, enter the Title, Text, check or uncheck the Required checkbox and set the Type of question. Repeat to add more questions. Click ‘Save changes.’
The question can be edited or deleted using the icons on the right.
At this point, the Proceeding Editor will take over the responsibilities of the camera-ready phase of the conference.
The responsibilities of the Proceeding Editor are only to facilitate the camera-ready submissions.
Note
Not all conferences will utilize a Proceeding Editor.
For those conferences not using a Proceeding Editor, please continue.
DEADLINE: Activity Timeline
- Go to the Settings tab, select 'Deadline' and enable the Camera-Ready Submission status. Set the date appropriately. Click 'Save Changes.'

EMAIL AUTHORS
After the conference has been set up to accept camera-ready files, the Chair will notify the authors to submit their camera-ready files.
- From the Chair Console filter the paper status for Accept.
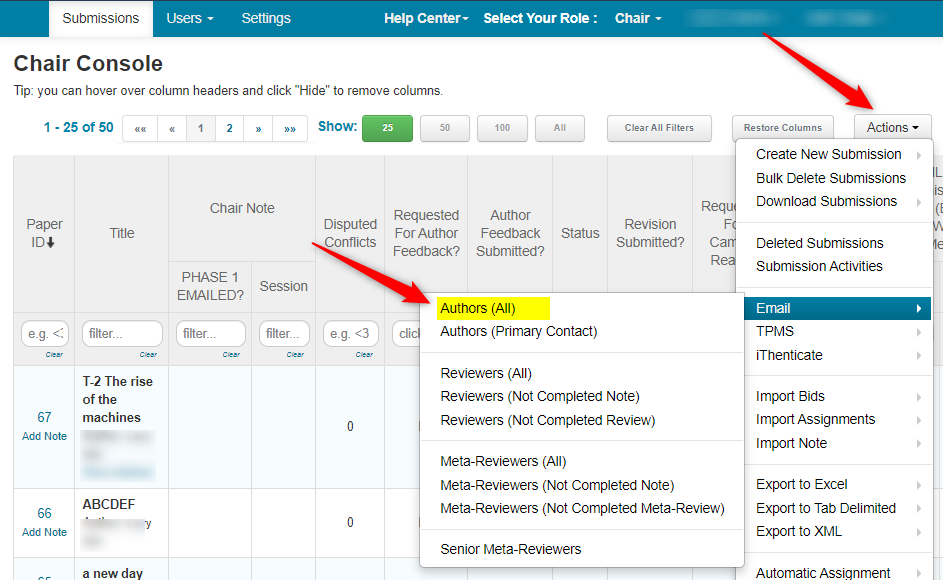
- Click 'Actions>Email>Authors(All)
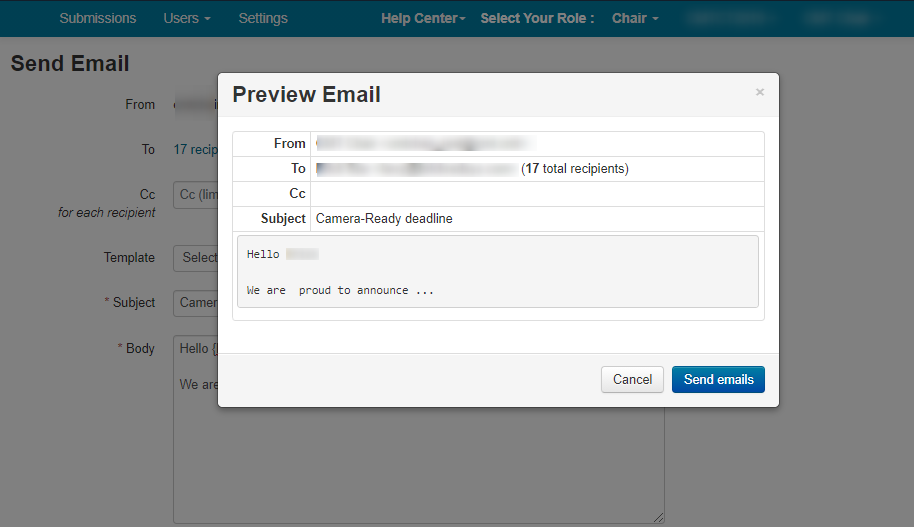
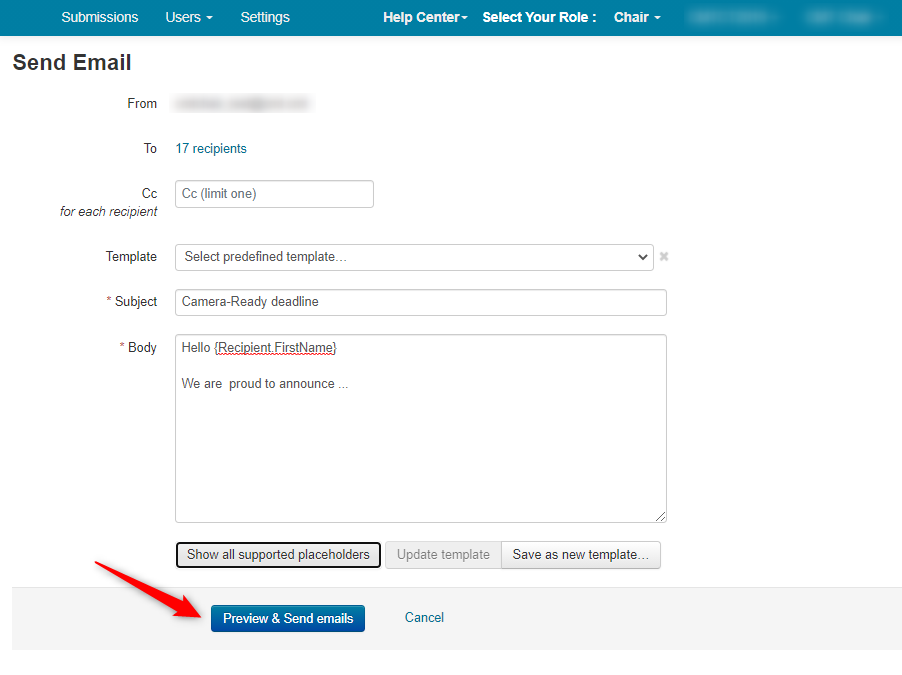
- Fill out the email or use a template if one is made. Then click ‘Preview and Send emails.’
- View the email, then click 'Send.'
