CHAIR HOW-TO: Presentation and Session Planning
OVERVIEW
After the conference is over, the chairs may use sessions for the conference program.
Note
Currently only Chairs and Presentation Chairs can access Session Planning.
Track Chairs added to the role of Presentation Chair will be able to manage presentation papers from all tracks.
SELECT SESSIONS SETTING
Single Track Conference
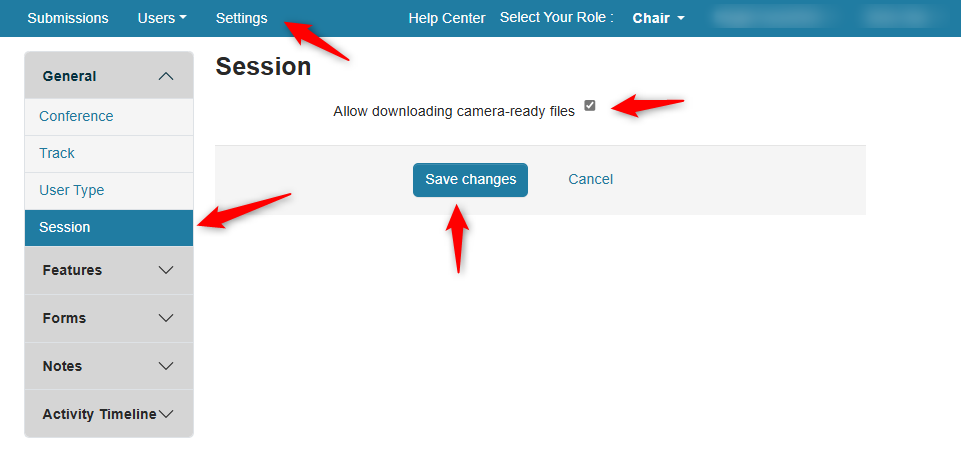
- Go to 'Settings' tab, 'General>Sessions' and select:
- If camera-ready files will be included
- Save the changes
Multi-Track Conference
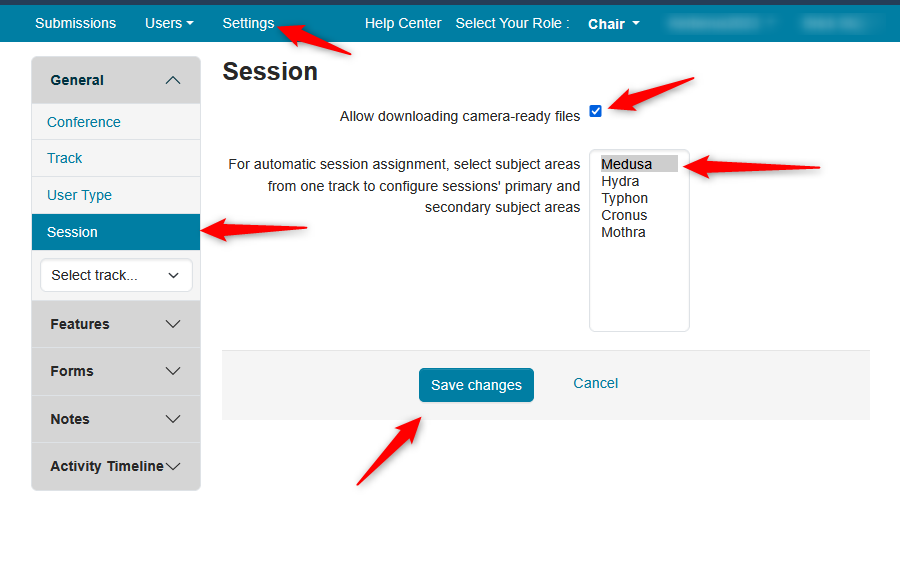
- Go to 'Settings' tab, 'General>Sessions' and select:
- If camera-ready files will be included
- Track for subject areas for sessions.
'For automatic session assignment, select subject areas from one track to configure sessions' primary and secondary subject areas' - Save the changes
ENABLE PRESENTATION
Single Track Conference
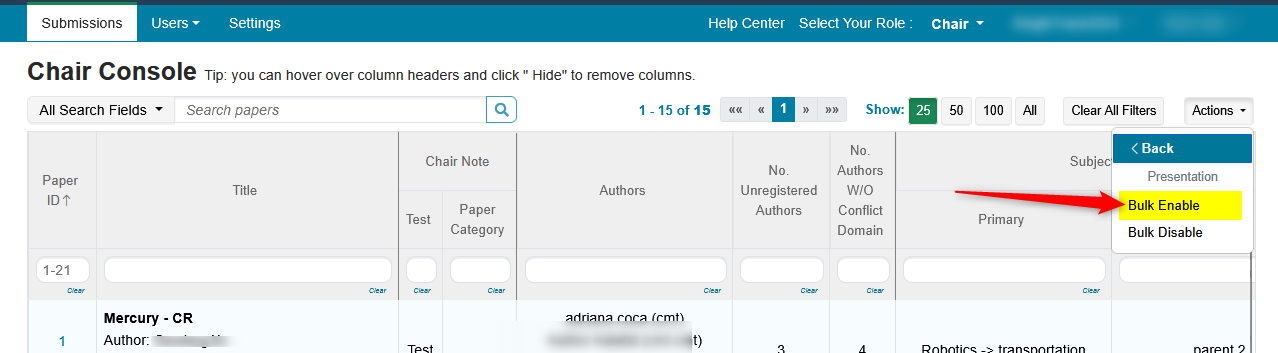
Filter for your papers that will be presented. In this case we chose 15.
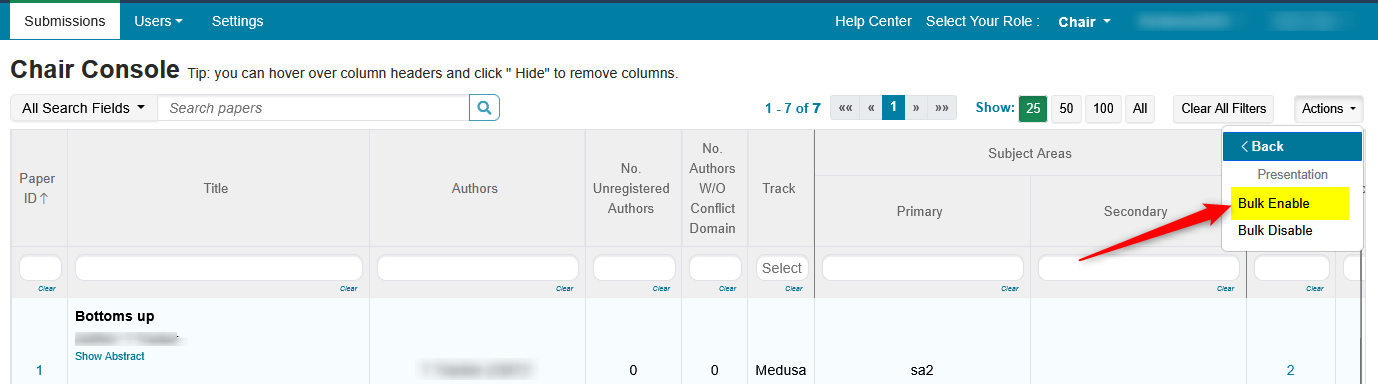
- Click on ‘Actions>Presentation>Bulk Enable’

- Click Bulk Enable in the secondary menu
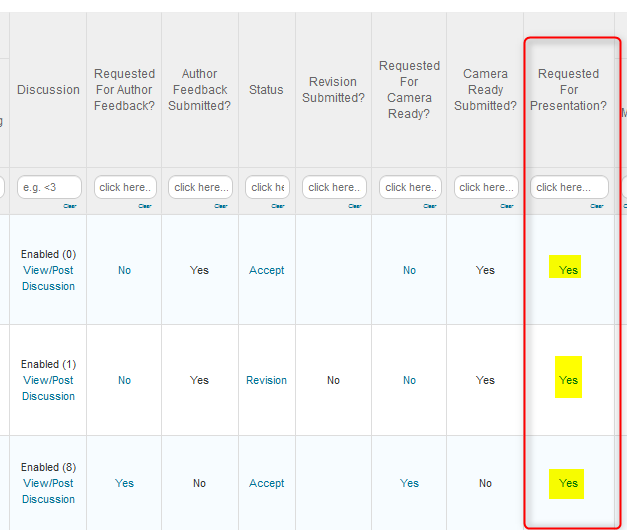
- Verify in the ‘Request for Presentation?’ column of the Chair Console
Multi-Track Conference
- From the Chair Console select the track from settings
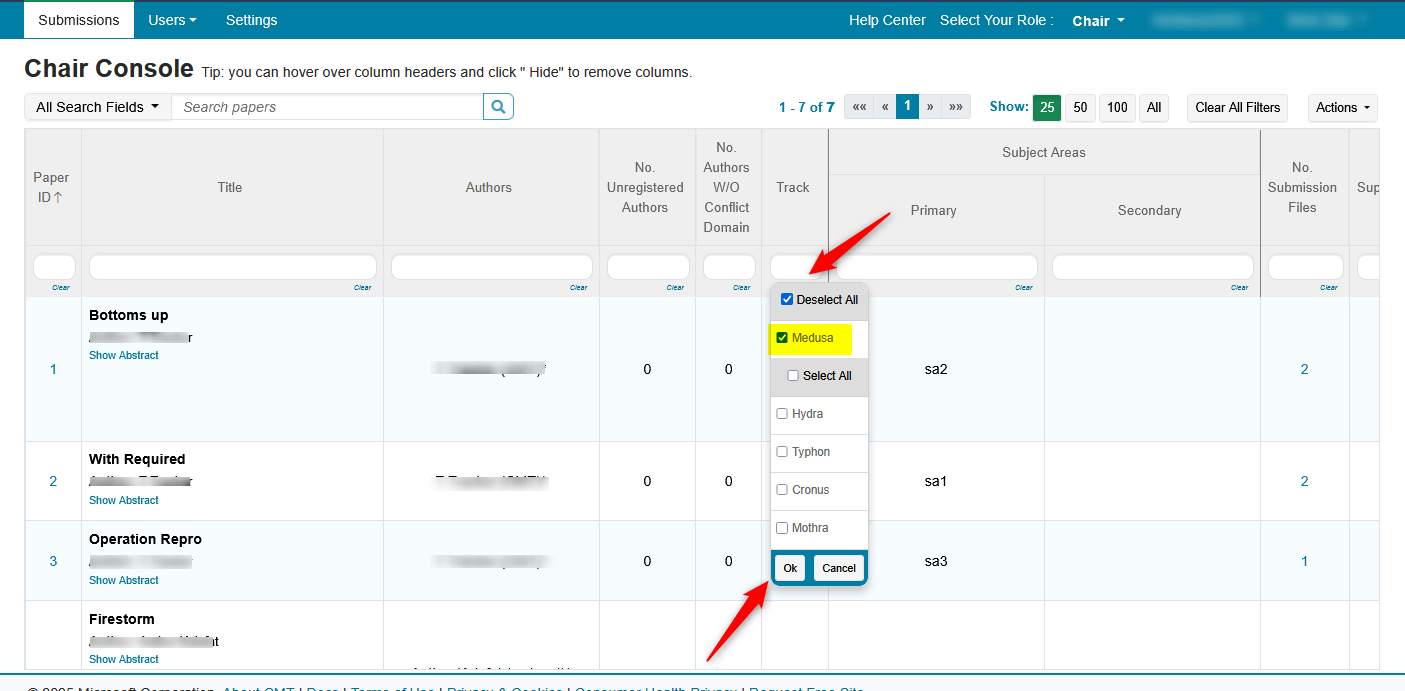
Filter for papers to be presented from the selected track. In this case we will use all 7.
- Click 'Actions>Presentaion'
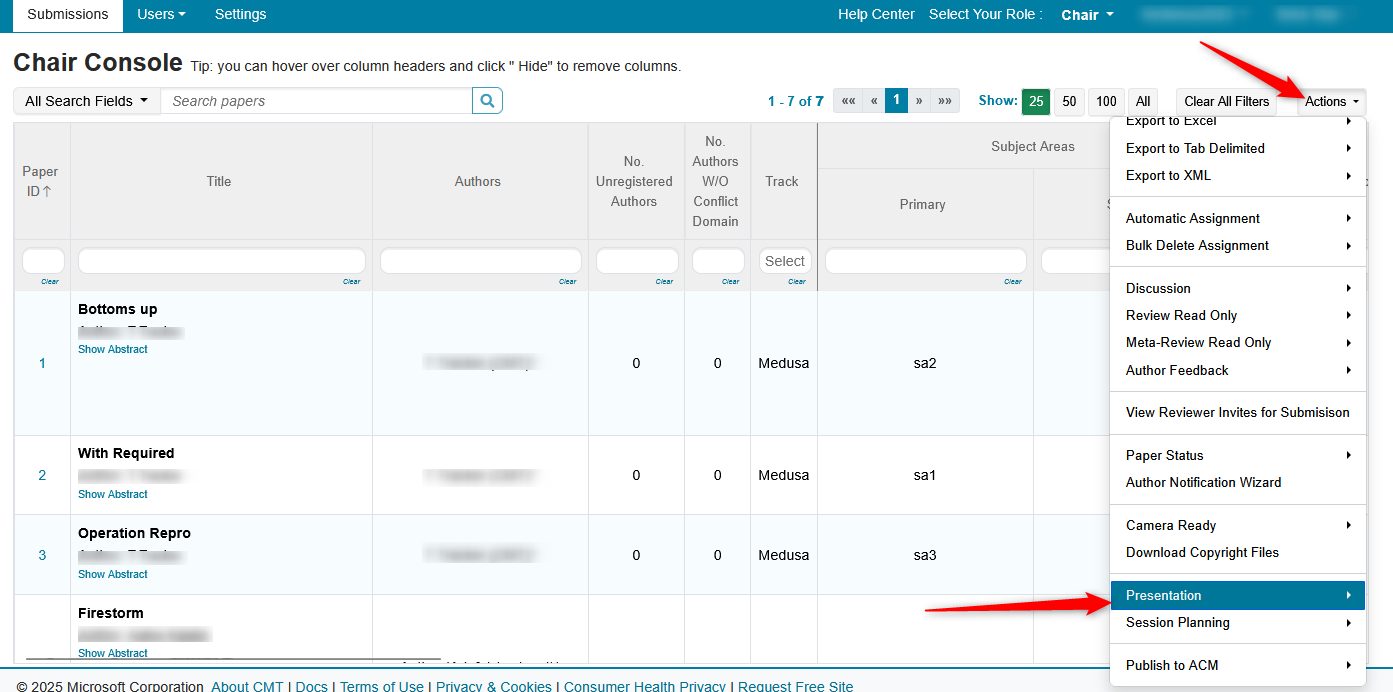
- Click 'Bulk enable' from the secondary menu
PRESENTATIONS TAB
Note
From here on out it is the same for single and multi-track conferences.
Important
Presentation can come from different tracks
- Click Actions>Session Planning>Presentations
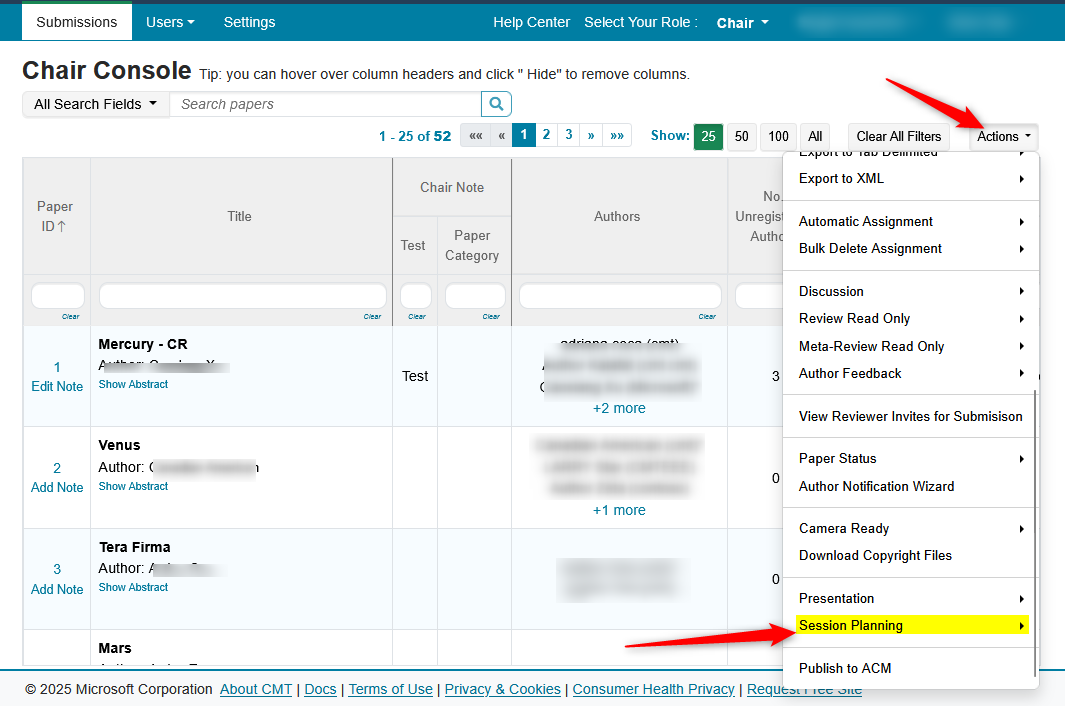
- Click 'Presentations' in the secondary menu
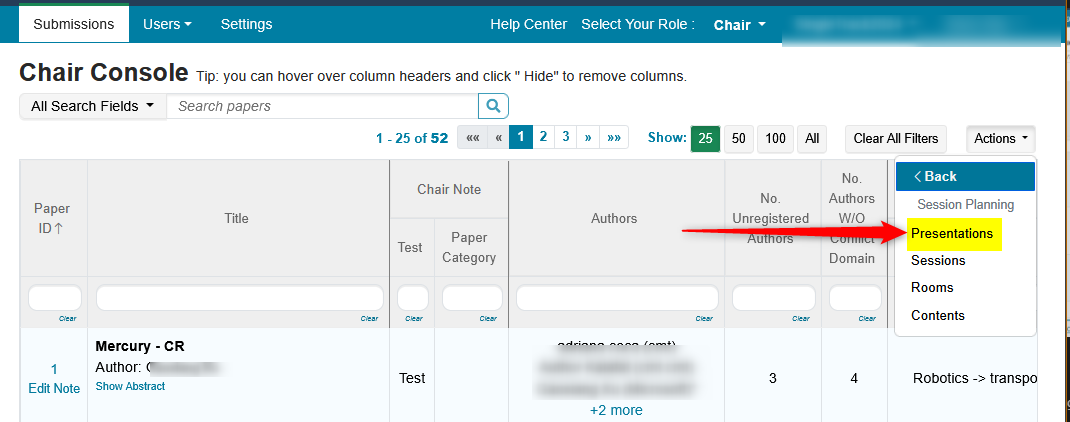
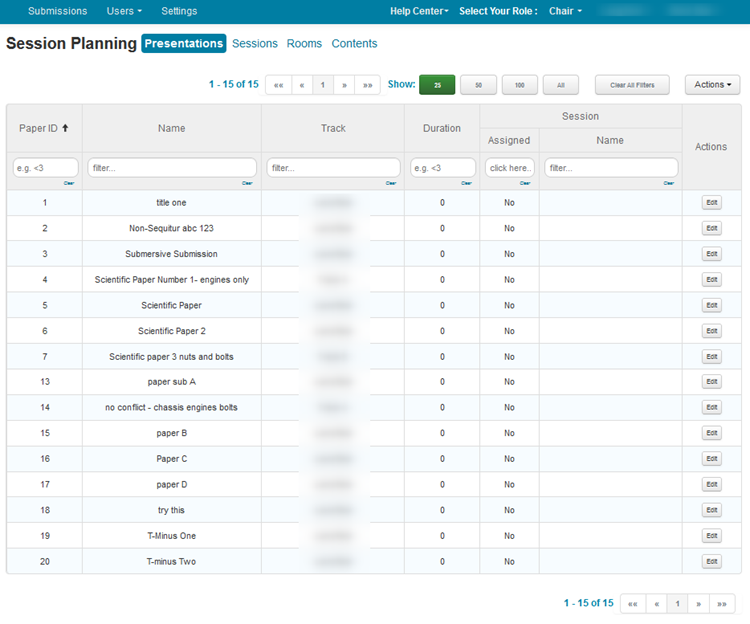
The Session Planning page opens in the Presentation tab.
- Verify your papers are there unassigned
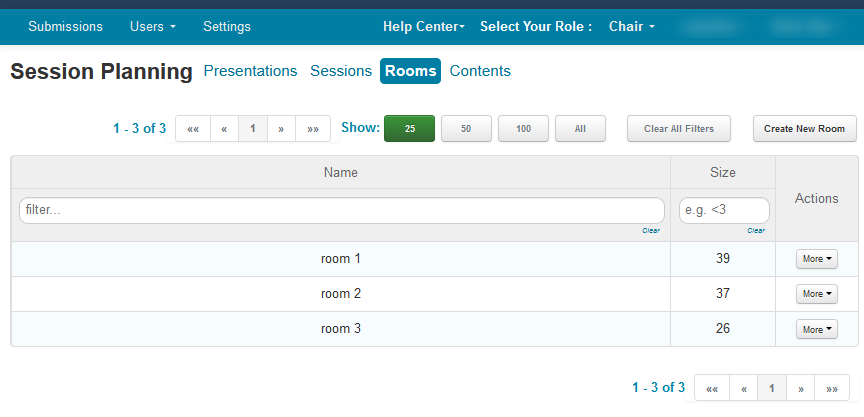
ROOMS TAB
Any tab can be worked on at any time, but for example purposes we will start with the rooms.
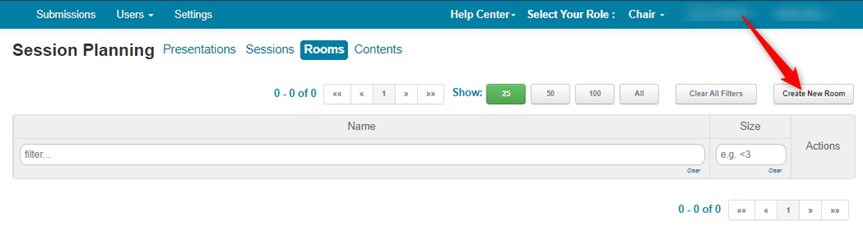
- Click the ‘Room’ tab
- Click Create New Room
- In The ‘Add Room’ popup, enter the name of the room and the size. Click 'OK.'
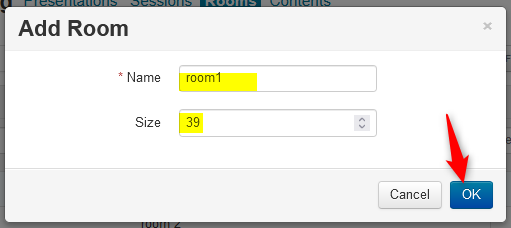
Add as many rooms as your conference needs. In this case we have added three rooms in total.
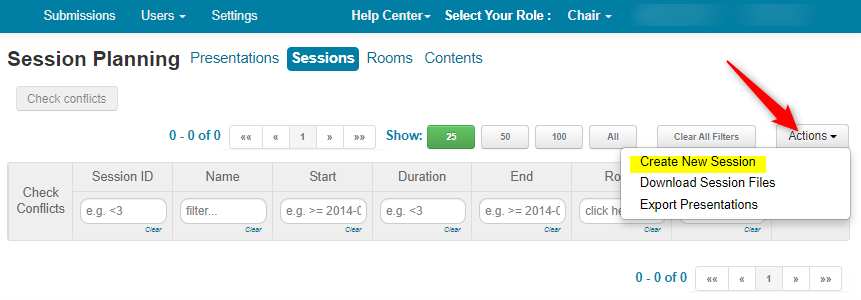
SESSIONS TAB
- Click the ‘Sessions tab. Click ‘Actions>Create New Session.’
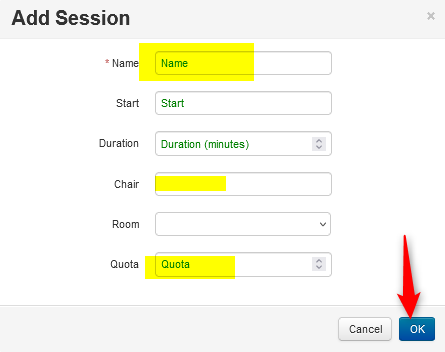
- Enter the Session name, chair, and the Quota. Do this for as many sessions as the conference requires.
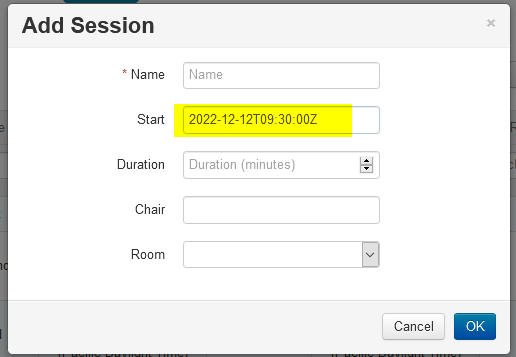
- Enter the Start time
Important
The Start Date/Time accepts time in ISO format.
The user can enter time zone offset along with the time if needed.
Here are some examples:
- 2023-10-31T15:30:00+07:00
- 2023-10-31T15:30:00Z
- 2023-10-31T15:30:00-07:00
Be aware of any leading or trailing spaces.
Note
The time will show PACIFIC TIME.
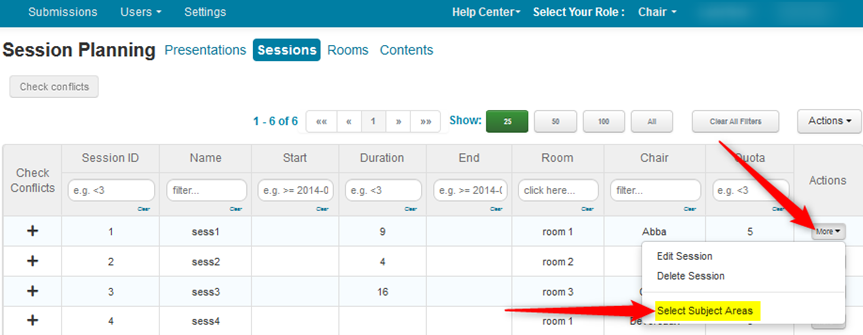
- Once you have the Sessions, go to the end of one of the rows, click ‘More>Select Subject Areas’
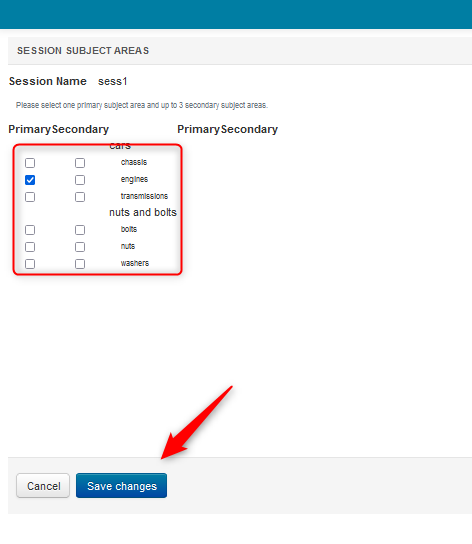
- Select the subject areas for that session, then click ‘Save changes’. After that, click the browser back-button to return to the Session page.
- Enter the Subject Areas for all sessions. Then go back to the ‘Presentation’ tab.
PRESENTATIONS TAB
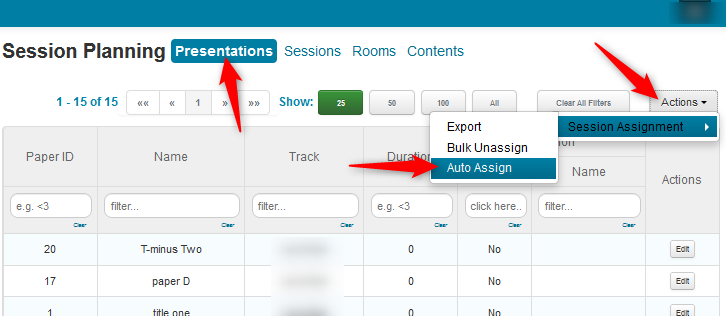
- Click ‘Actions>Session Assignment>Auto Assign.’
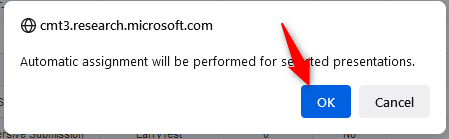
- Click ‘OK’ in the ensuing pop up.
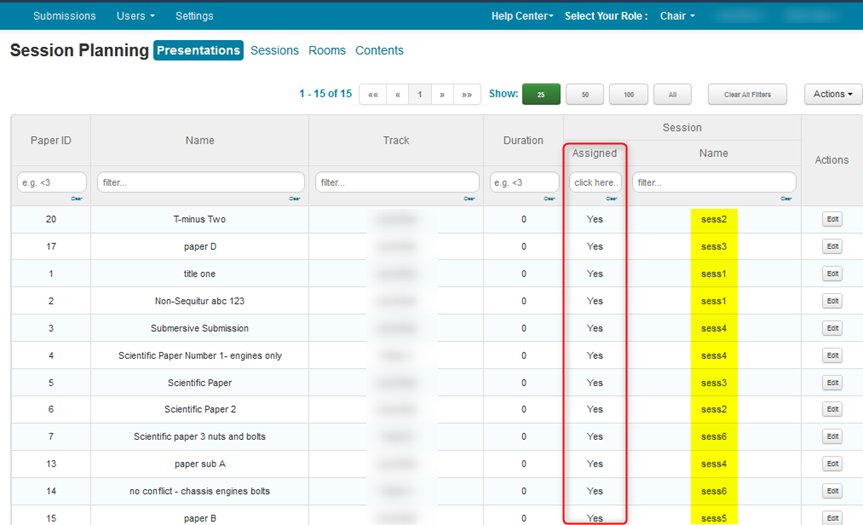
The the assignments and sessions are viewable in the Presentations tab.
EXPORTING FROM PRESENTATIONS TAB
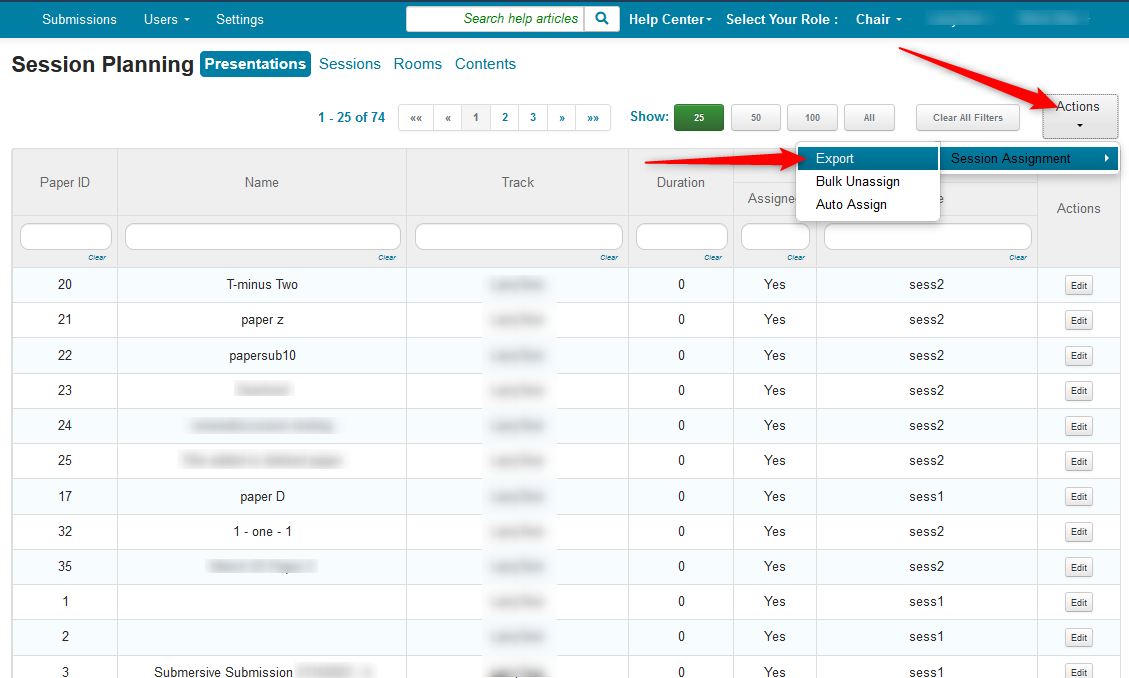
After assignments have been made, a txt file can be exported.
- Click Actions>Export.
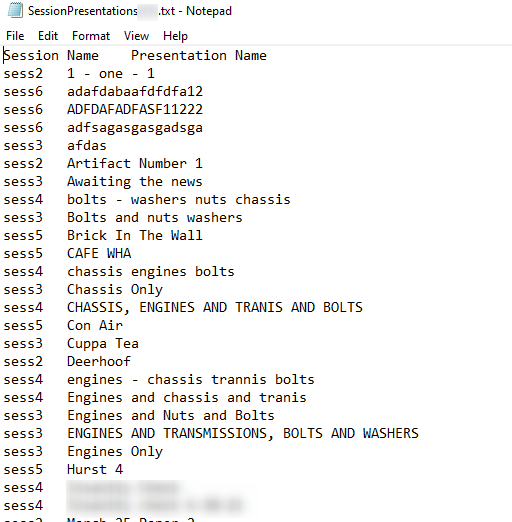
- Open the downloaded file
EXPORTING FROM SESSIONS TAB
The file can also be exported from the Session Tab.

CONTENTS TAB
Note
The time will show PACIFIC TIME.
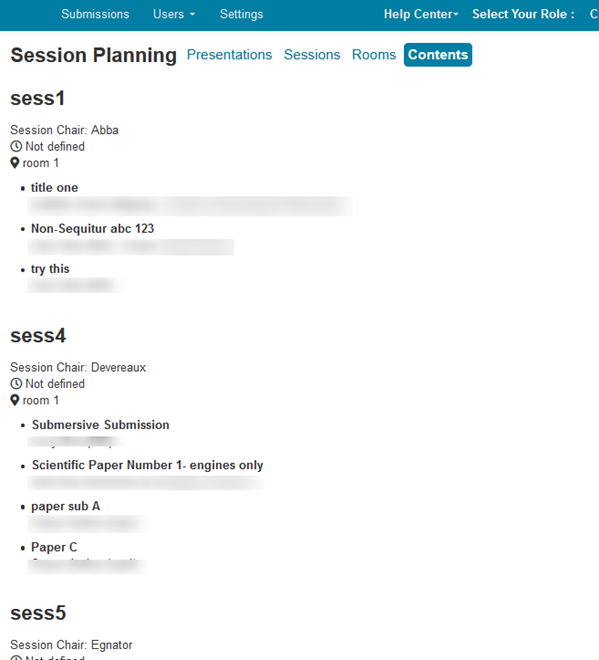
- Click on the Contents tab. The papers, chairs, sessions and rooms are all listed.
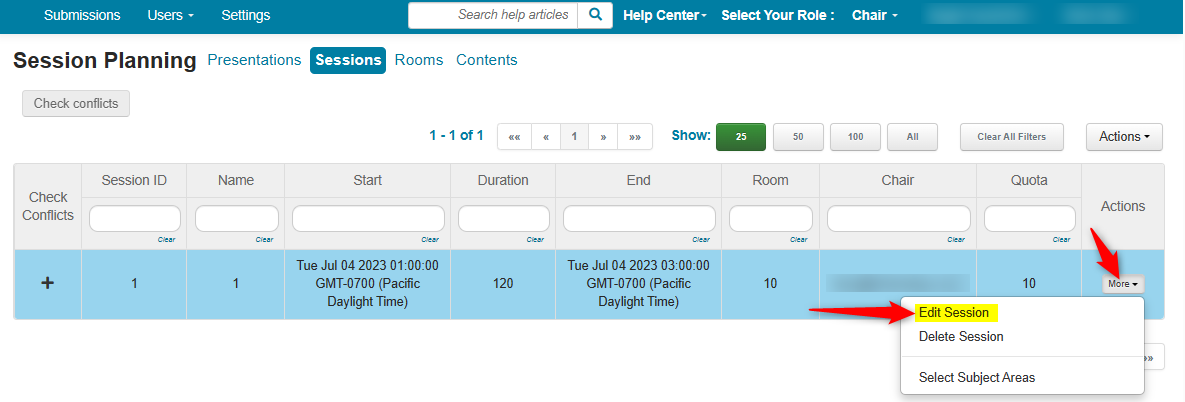
EDITING SESSION TIMES
- If Session times need to be modified, from the 'Session' tab click 'More>Edit Session' on the row that needs the time corrected.
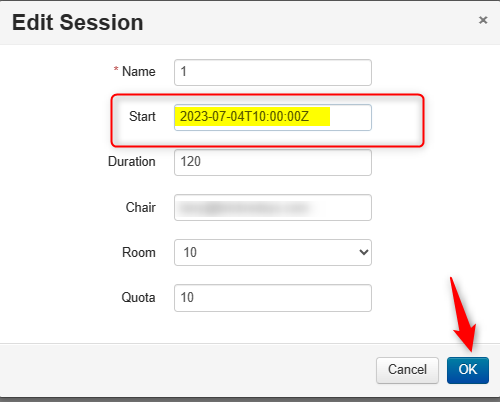
- On the ensuing pop-up, change the 'Start' time. In this case we will add 2 hours. The format will be: 2023-07-04T10:00:00Z
- Click 'OK'
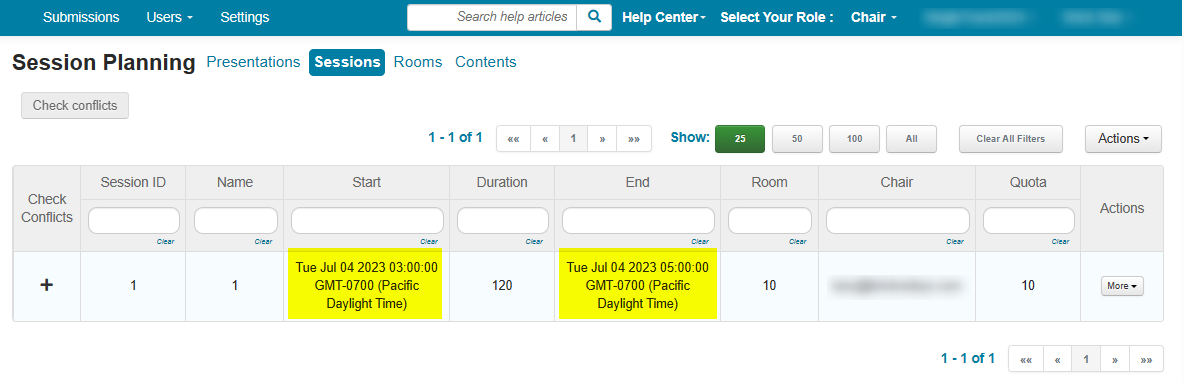
- Verify the new start/end times
NOTIFY AUTHORS
Presentation Session information is available to Authors by sending them the link to the 'Contents' page. Copy it from the browser, filter for the desired Authors in the Chair Console and email the link.
For example, the link will look like this (without the spaces):
https:// cmt3. research. microsoft. com/ YOURCONFERENCESHORTNAME/ SessionPlanning/ Contents